


Pursuing That Man: A Look at Asuka R# in Guilty Gear -Strive- - Article
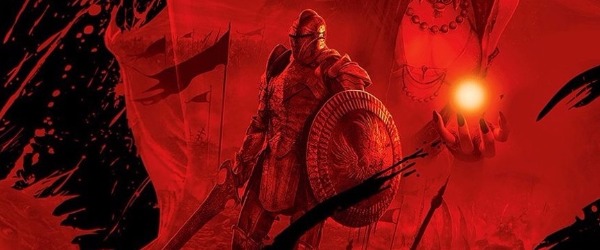
by Issa Maki , posted on 05 June 2024 / 2,112 ViewsAs Season 3 of Guilty Gear –Strive– winds down, we approach a calm before the storm. Balance changes and new special moves have shifted formerly established tier lists, while additional mechanics like the meta-altering Wild Assault serve to push an already offensive game towards new horizons. The recent arrivals of A.B.A and Slayer are currently generating the most discussion, but my thoughts still drift back to the final DLC of Season 2: the spell-slinging, card-drawing phantom of 'That Man' himself – Asuka R#!
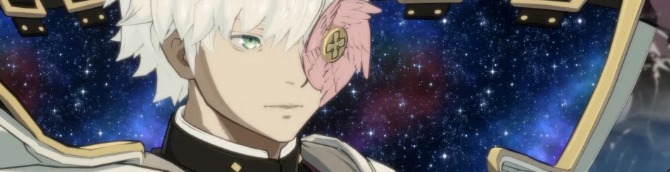
Carrying the burden of appellations such as The Devil (among others), this long-time antagonist of the Guilty Gear series is finally selectable for the first time. With the Tome of Origin in hand, Asuka randomly conjures a litany of spells to confuse and bewilder his adversaries. This task must not be undertaken lightly; should Asuka lack the mana to use his magic, or fall victim to drawing a bad hand, the tables can turn on him faster than any other member of the cast. But if he manages to strike the proper balance between offense, resource management, and luck, there's little the opposition can do besides wait for the next round to begin.
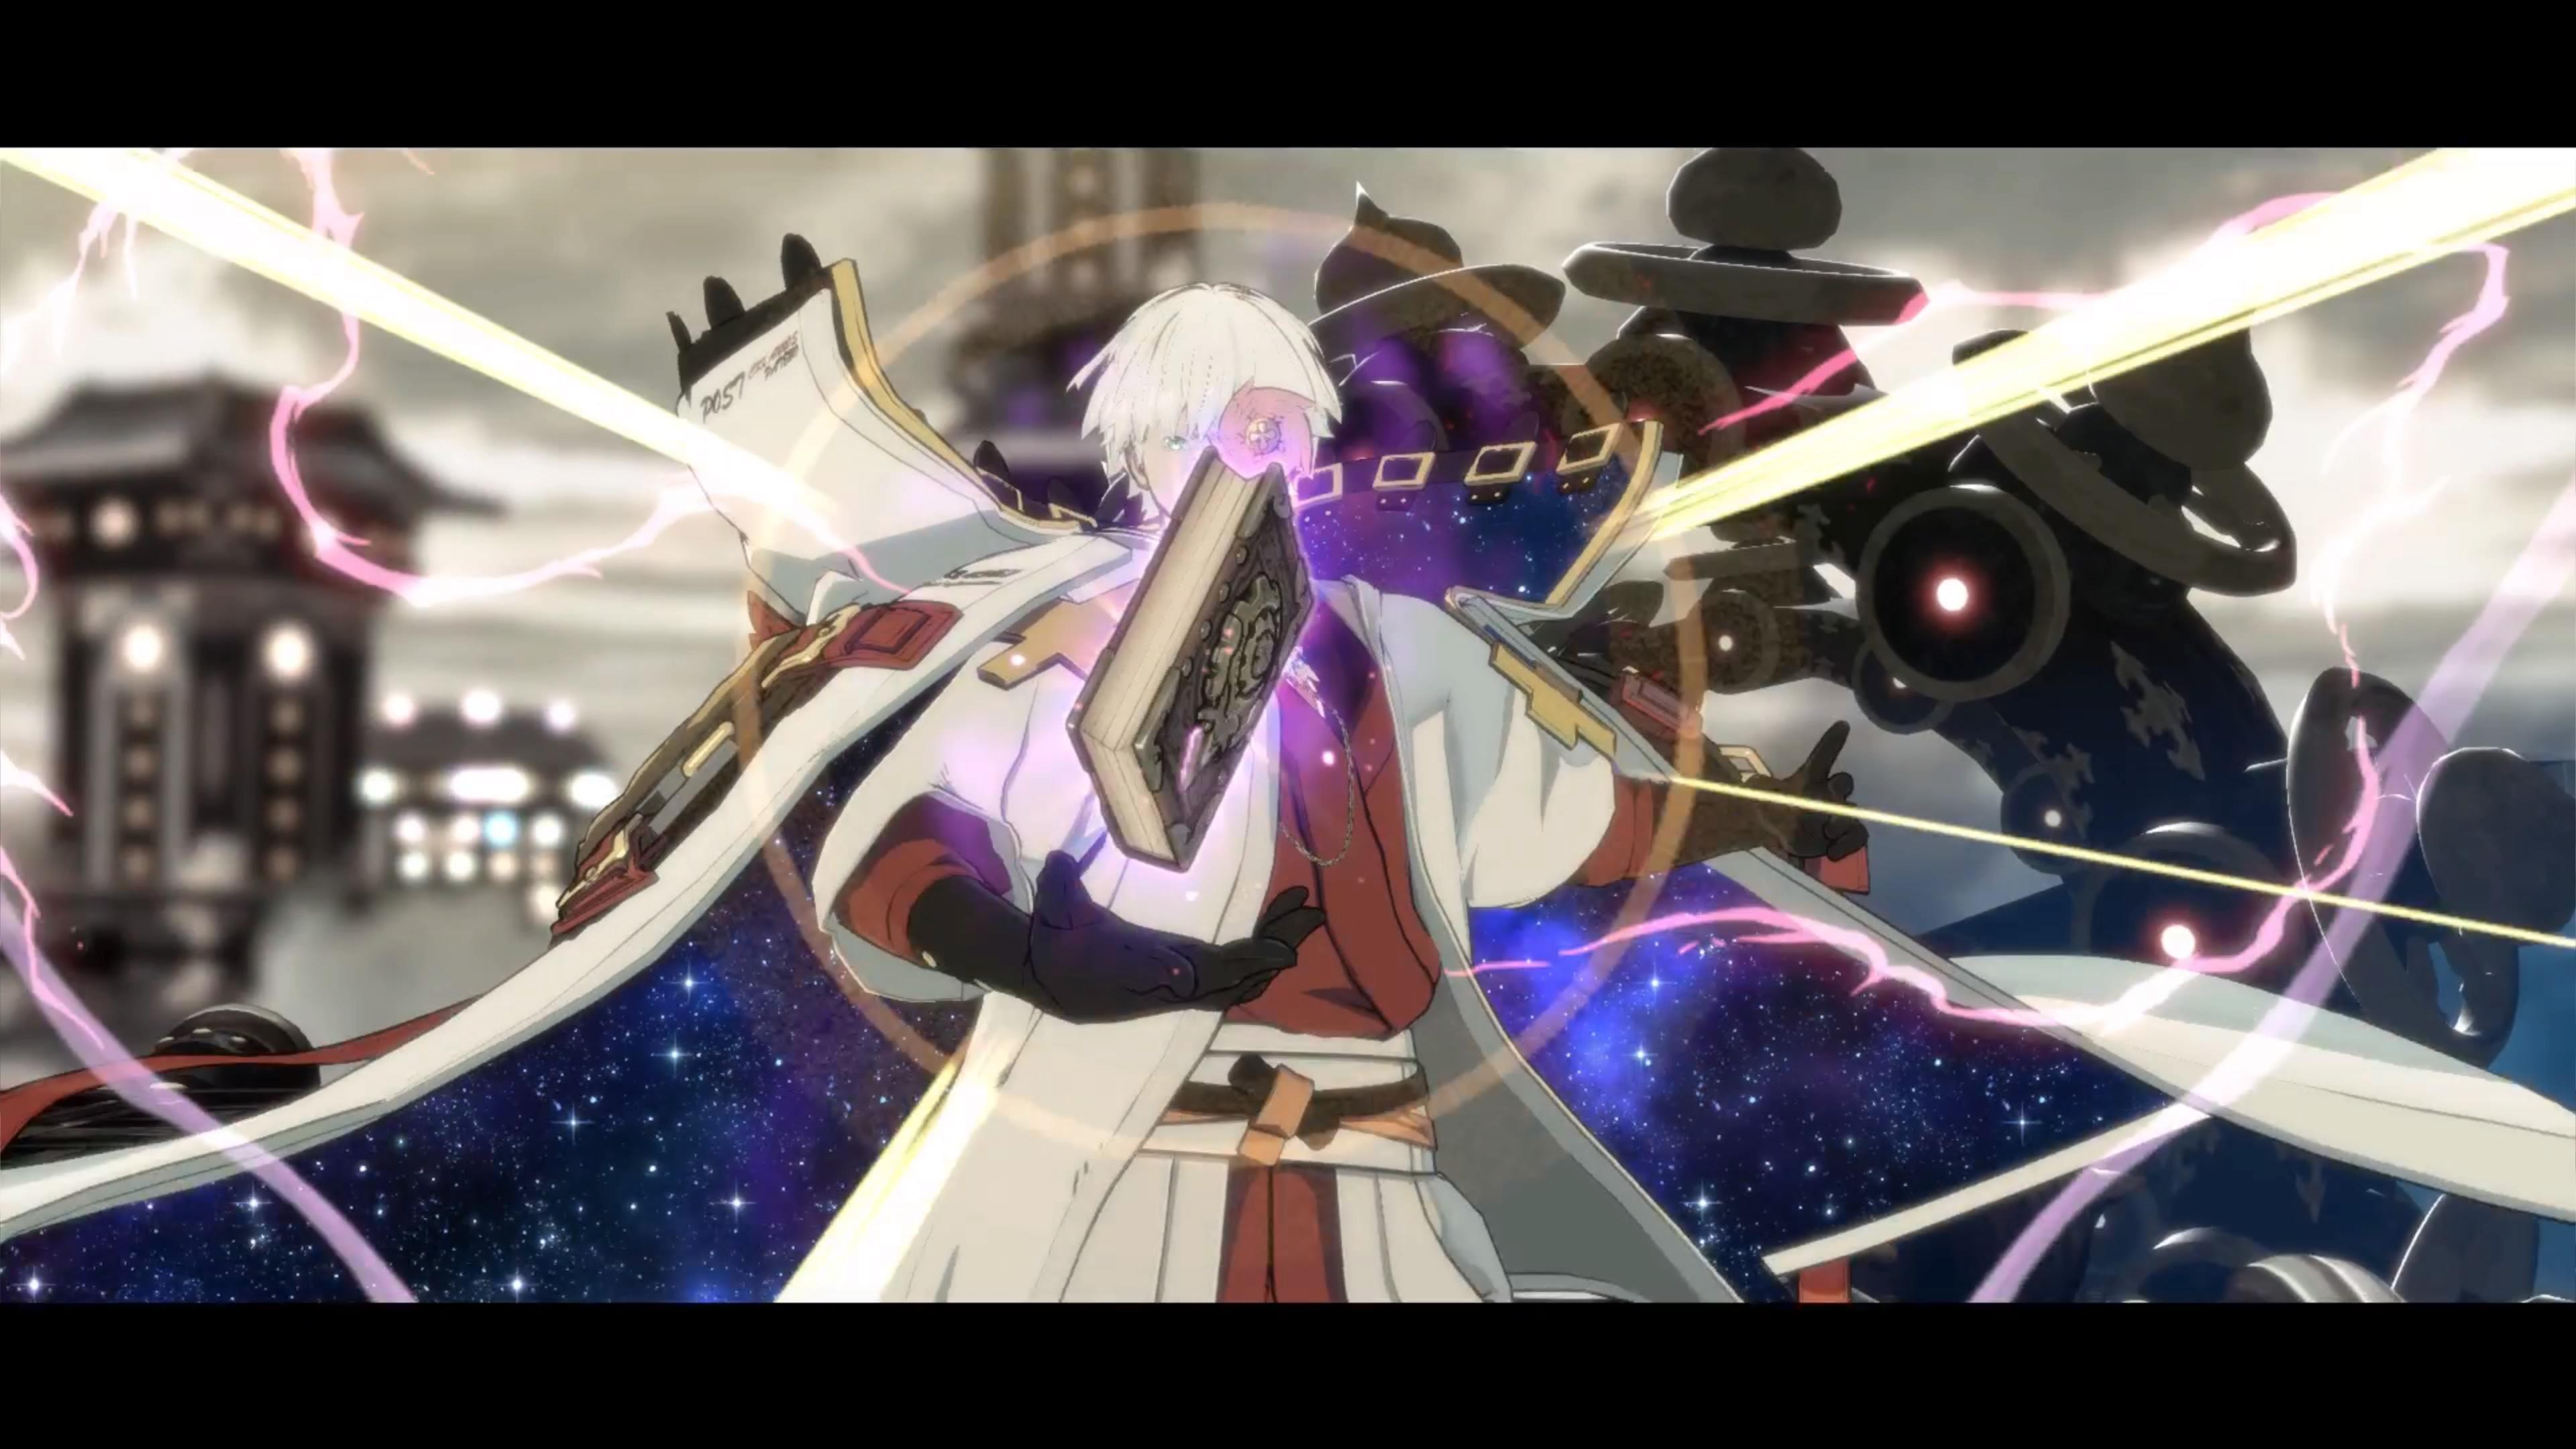
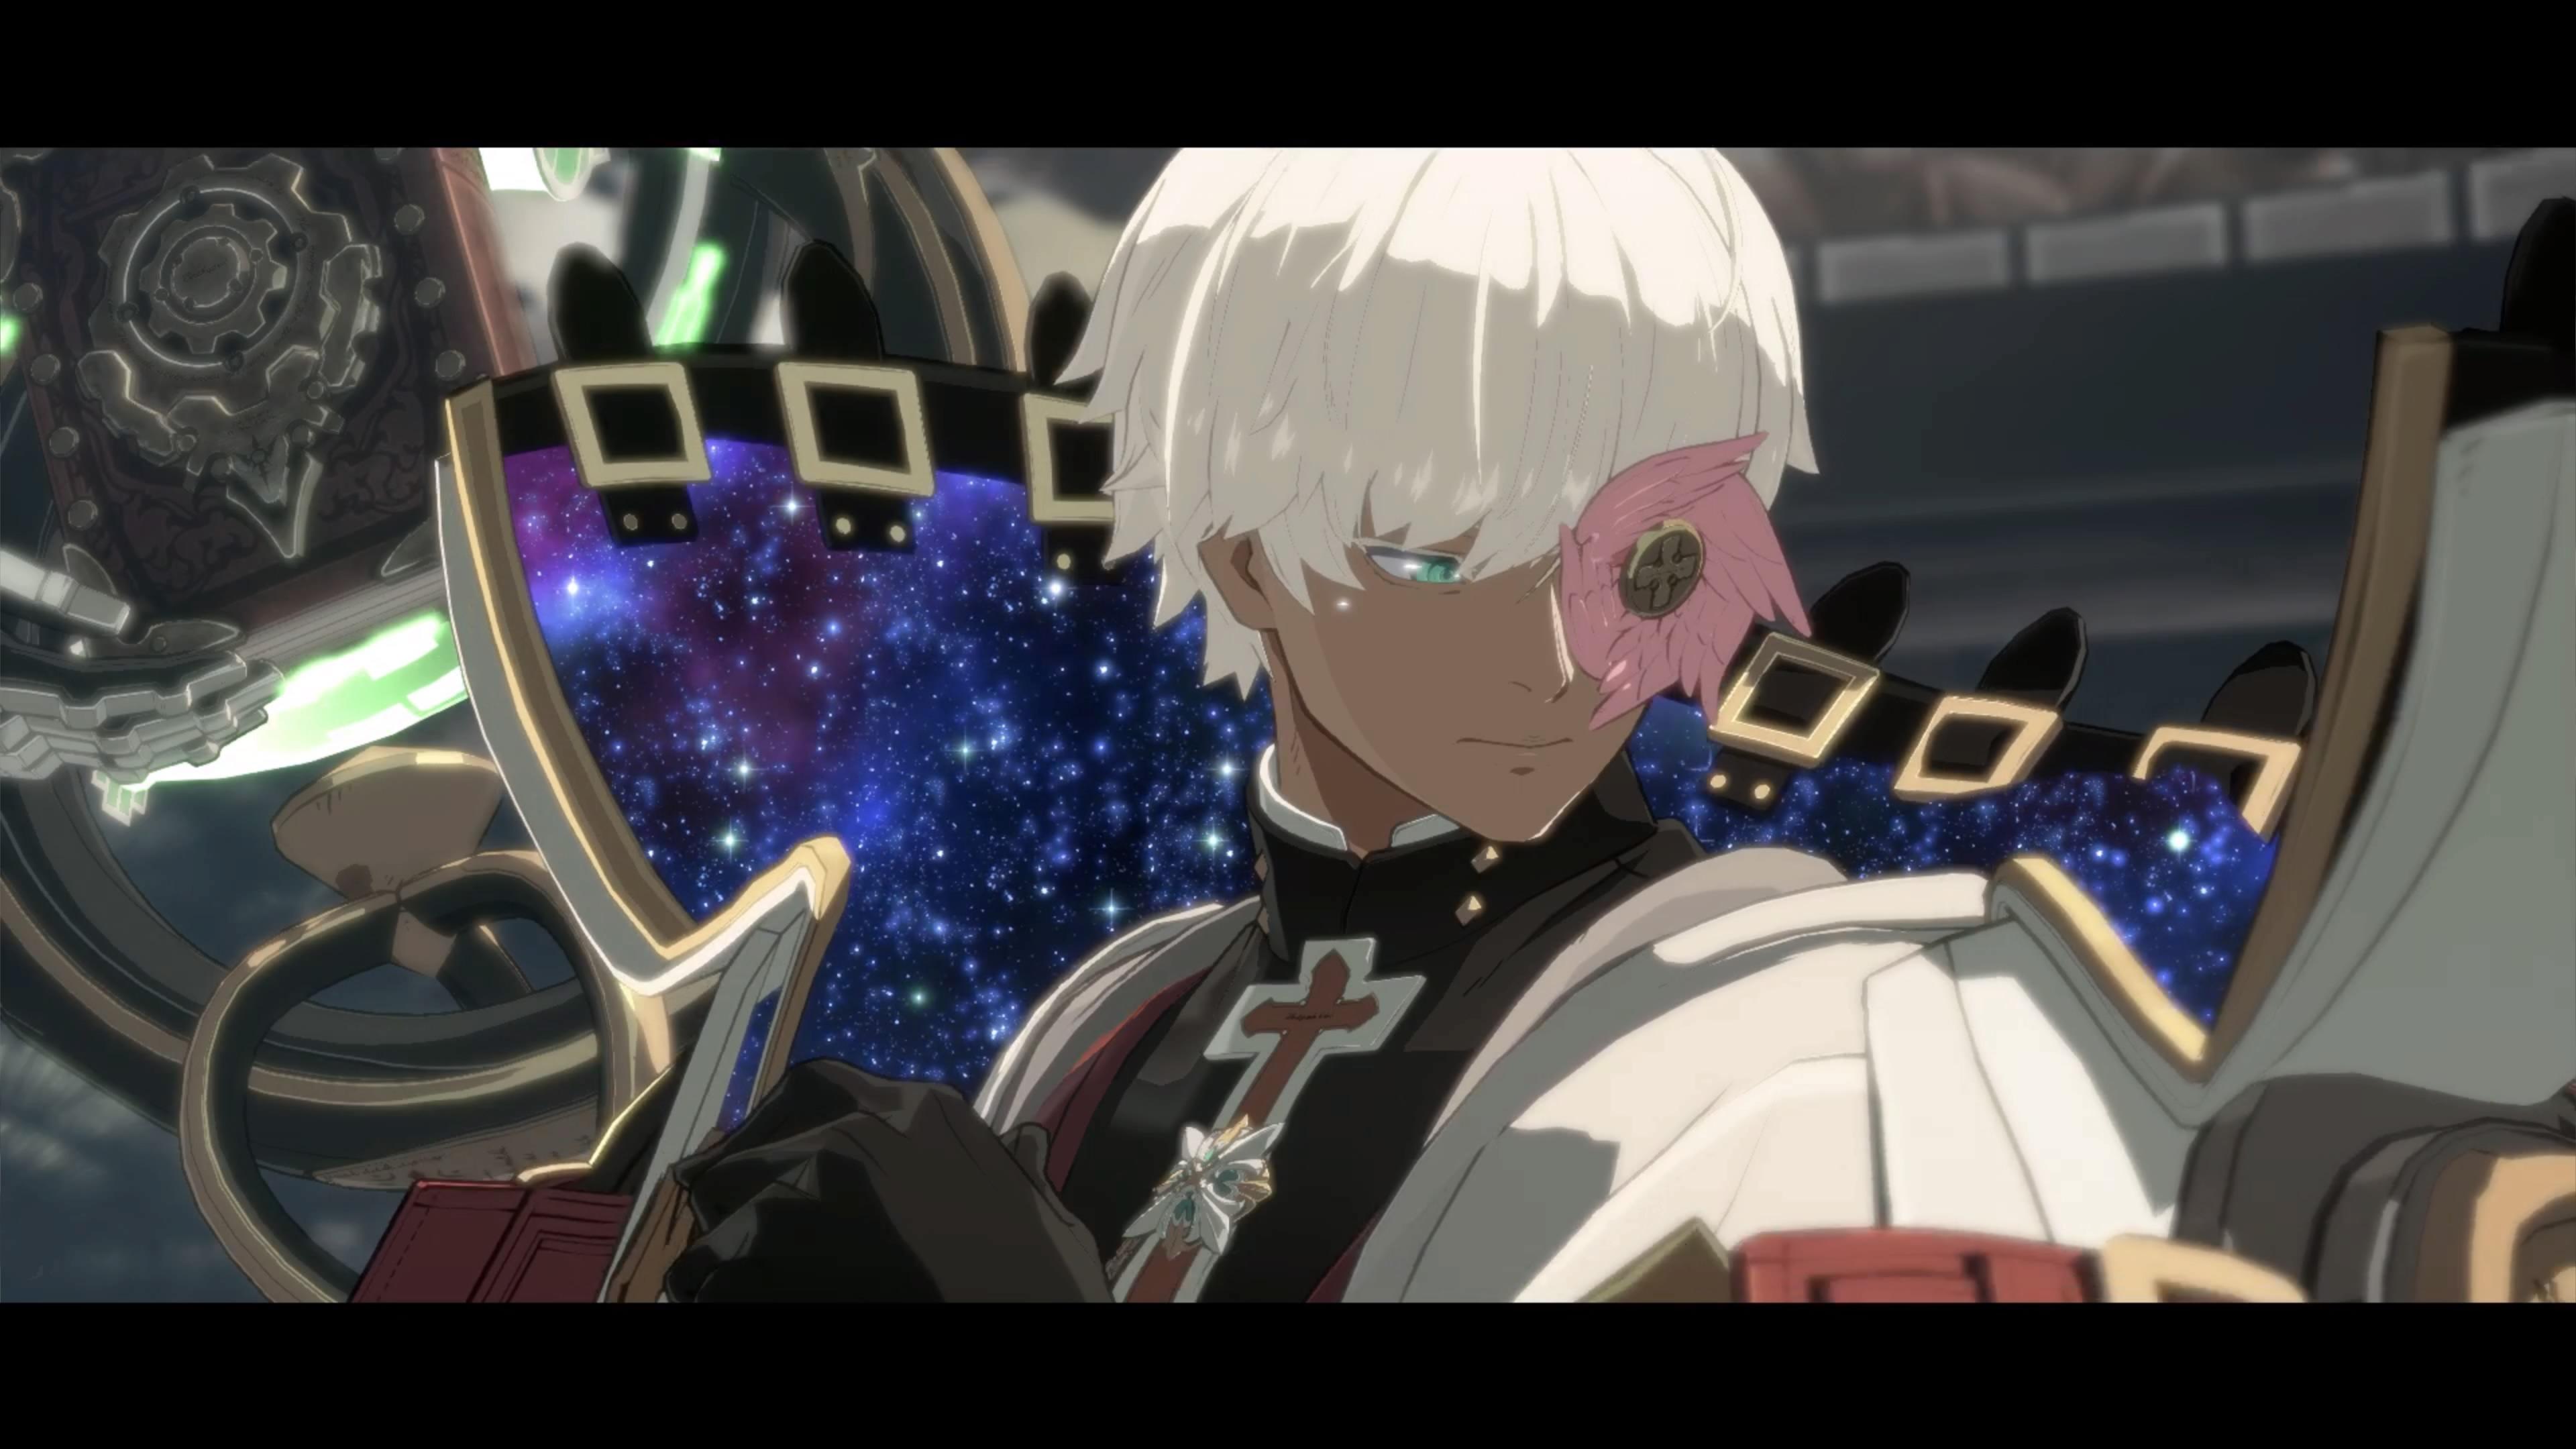
Outside of his stylish 'galaxy cloak' and eye corsage (which aren't nearly as popular as they were in the '90s), Asuka's defining feature is an honest-to-goodness, straight-out-of-Diablo Mana Shield. Represented by the blue border surrounding his lifebar, this passive attribute is no mere cosmetic. When active, Asuka receives a 25% reduction in damage dealt across the board, making him the game's most resilient fighter by a substantial margin. Take heed though: if it falls, Asuka takes a 50% damage increase (a 75% overall swing), erasing most denominations of survival. Mana management isn't only paramount for defense, but vital for generating an effective offense. It takes finger gymnastics, mental acuity, and a fair heap of luck to make it all work, but the end result is one of the most dynamic characters any fighting game has produced thus far.
Asuka's basic attacks are nothing to write home about, generally trading speed for combo utility. His command normals get a bit more interesting, enforcing a subtle high/low mix-up game to score a knockdown and start accruing resources. Potentially the result of parallel development, Asuka gains more from the Burst system changes introduced at the start of Season 3 than most; Wild Assault is surprisingly flexible in tandem with magic, whereas the Deflect Shield (usually a lesser option) gives Asuka the breathing room needed to establish his game plan. He generates the most Tension meter, though the constant cycle of Chant, Bookmark, and Recover Mana ensures that you'll be working hard for it.
Chant casts one of the (up to) four spells Asuka has in stock, randomly generated from whichever 'deck' (more on this later) is currently equipped. Bookmark either draws a card or discards one from Asuka's hand and Recover Mana (which itself has three variations) gives Asuka the supplies needed to fight and endure. It's important to remember that Bookmark can cancel into and from Chant – and both can cancel into Recover Mana; these shortcuts are critical for finding the time necessary to keep Asuka's coffers full and preventing the opponent from gaining ground.
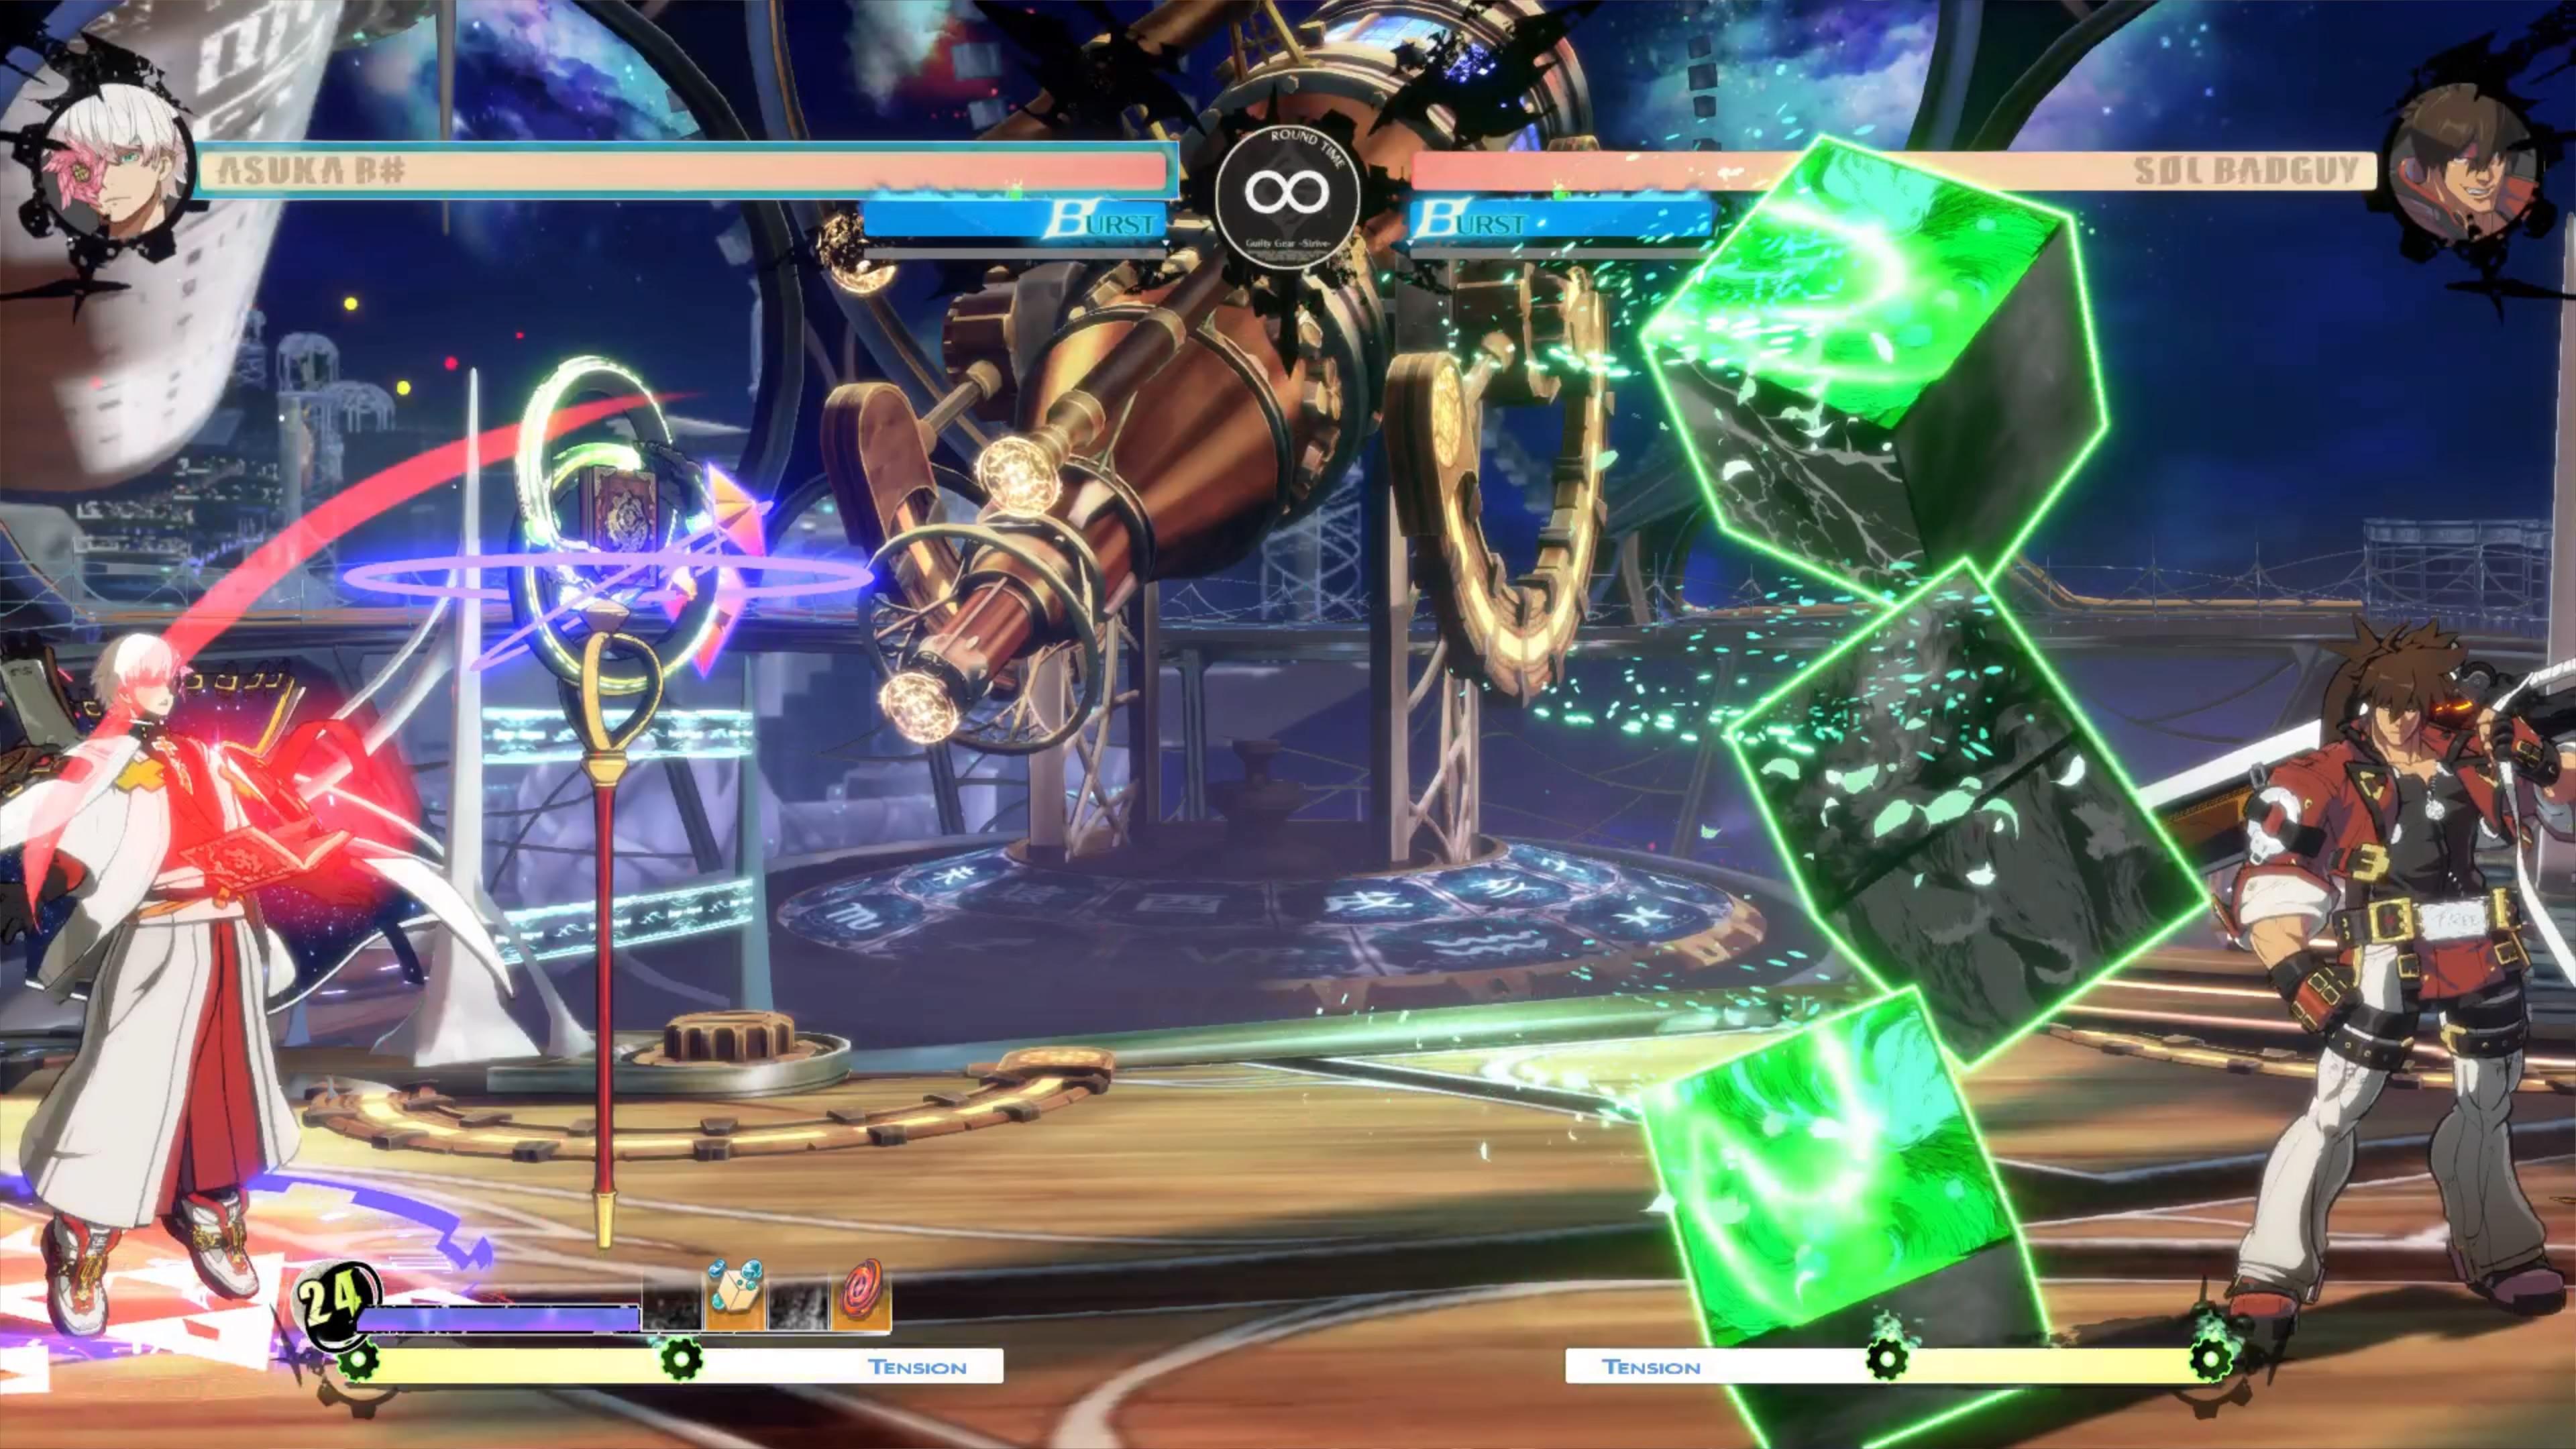
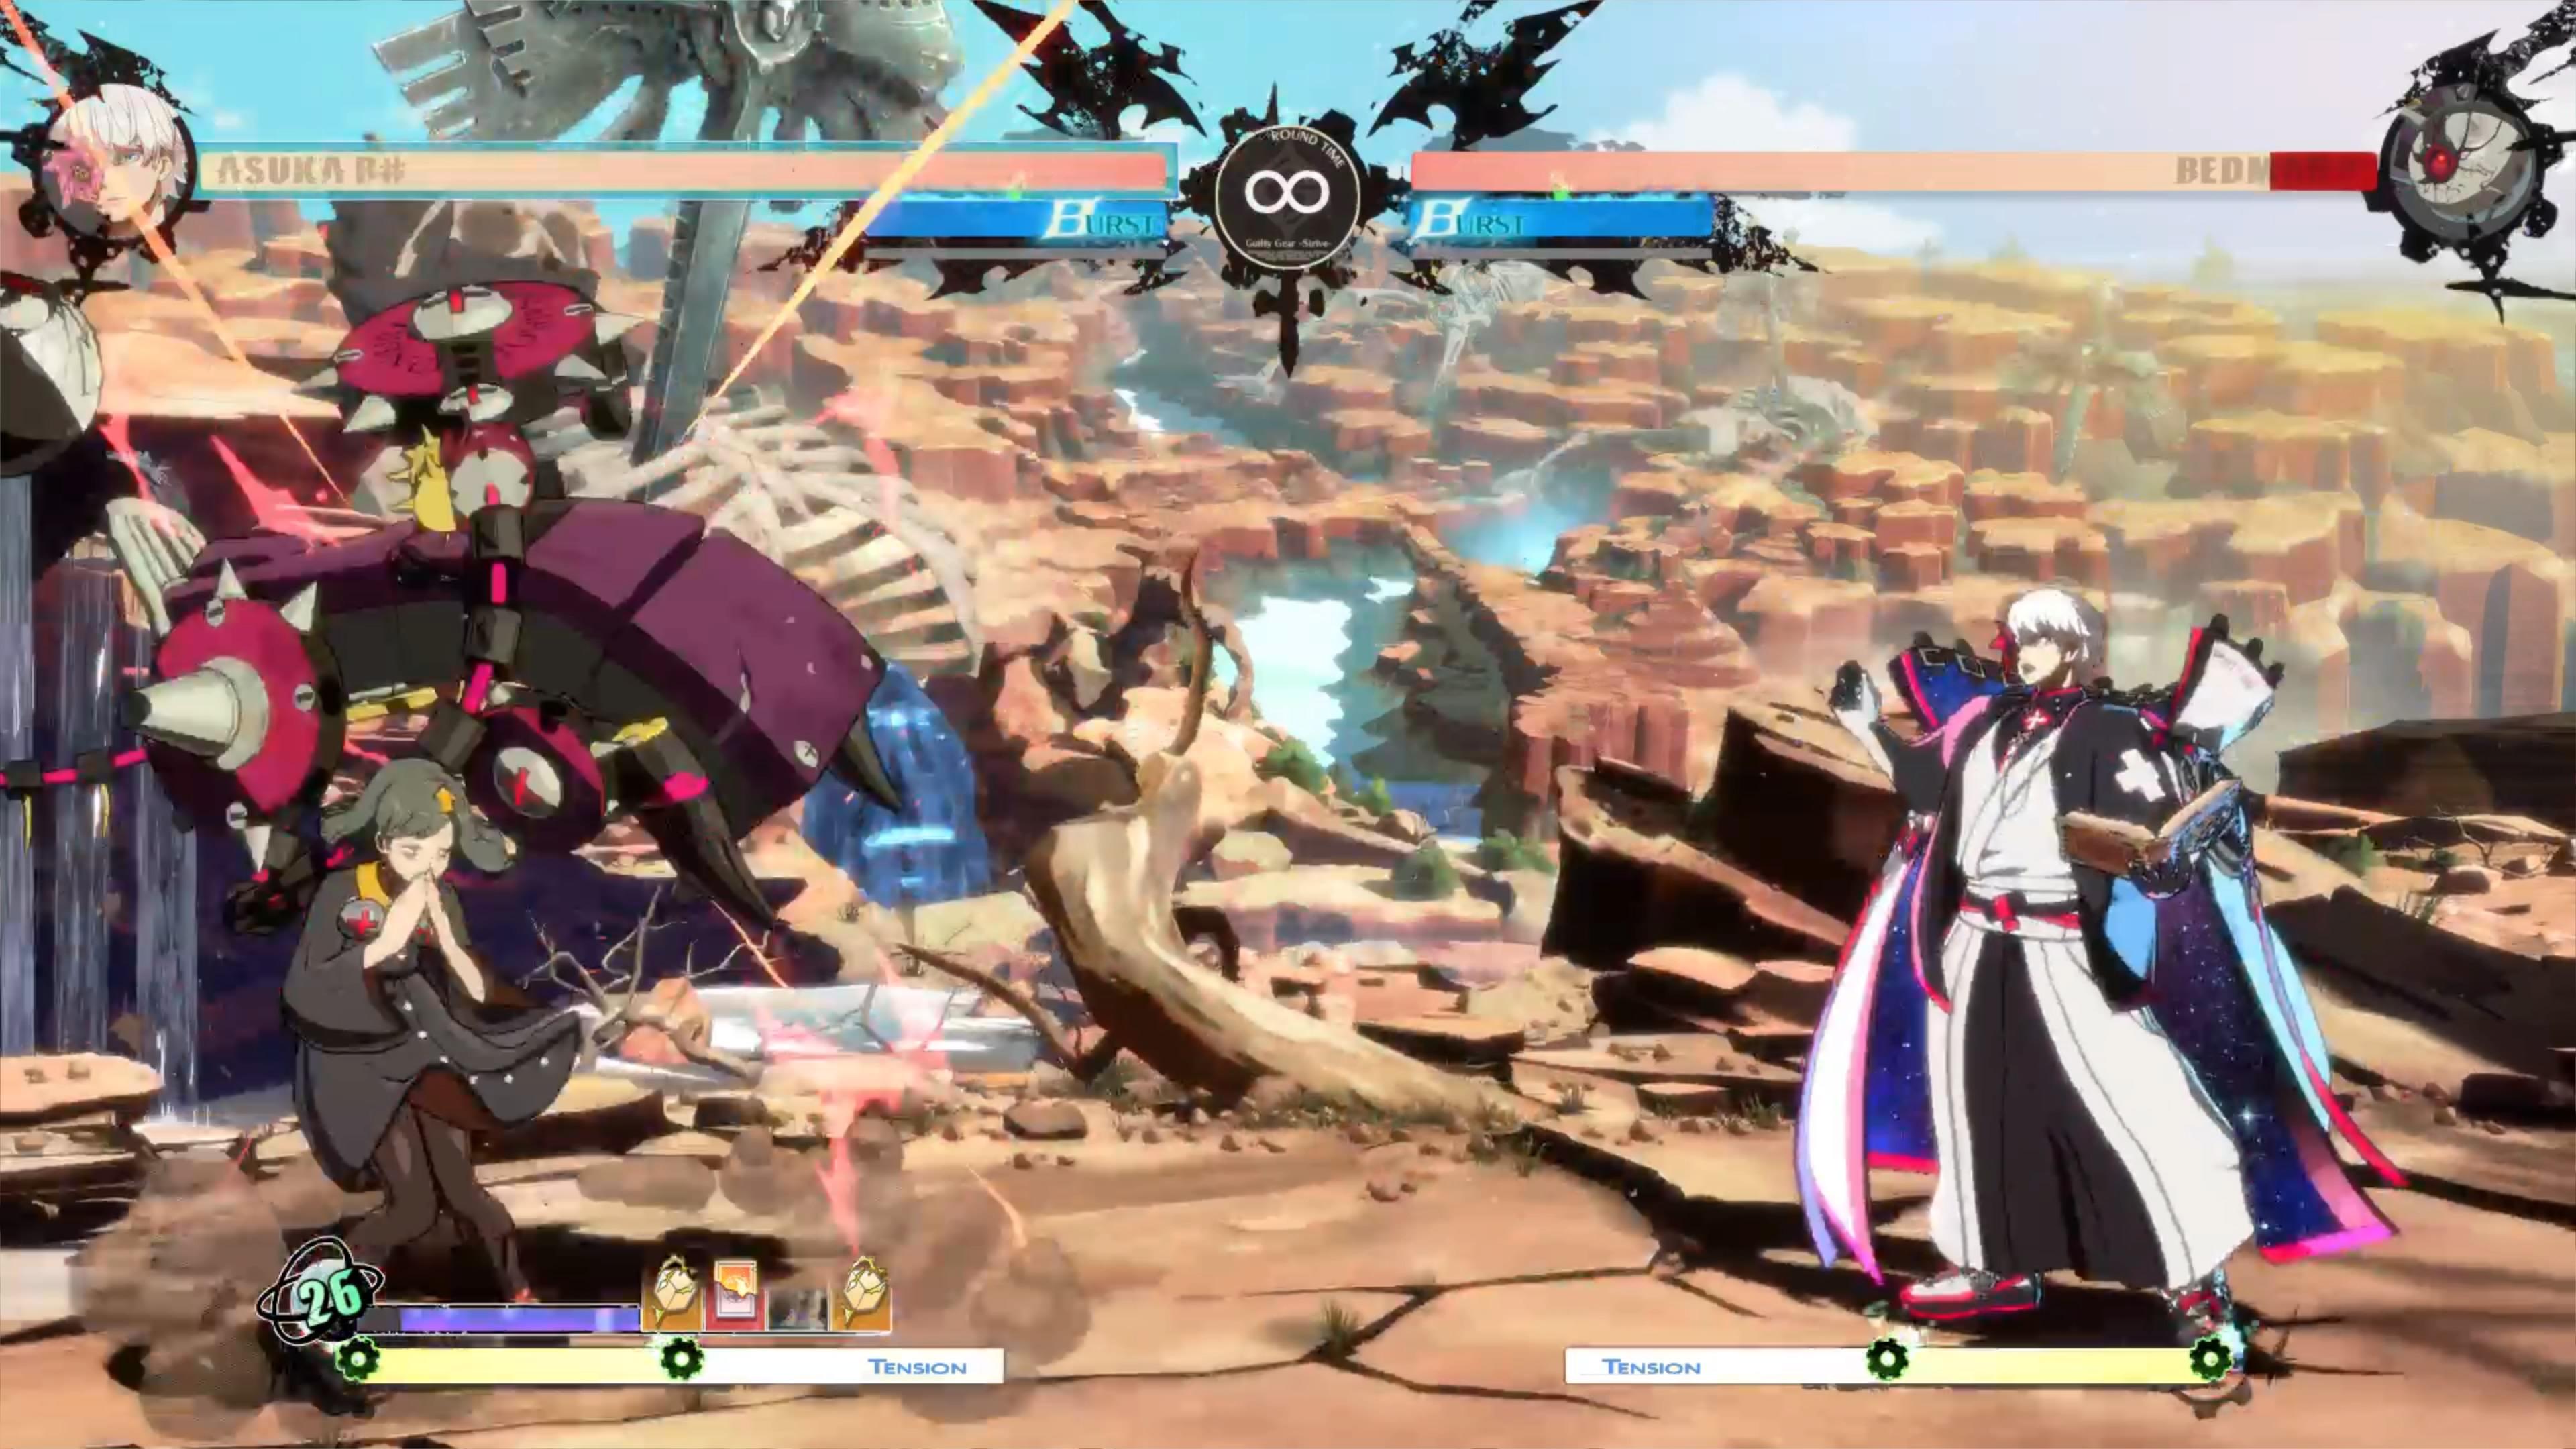
Also of extreme importance are the use of Asuka's 'staff' cards that alter the properties of his projectiles – and Asuka himself – to garnish an even greater amount of randomness to his already inherent unpredictability. These staves are difficult to field (and have a habit of showing up at the worst possible moments) but, deployed at the right time in a match, are the reason why the character encourages discussion concerning his high(er)-tier status.
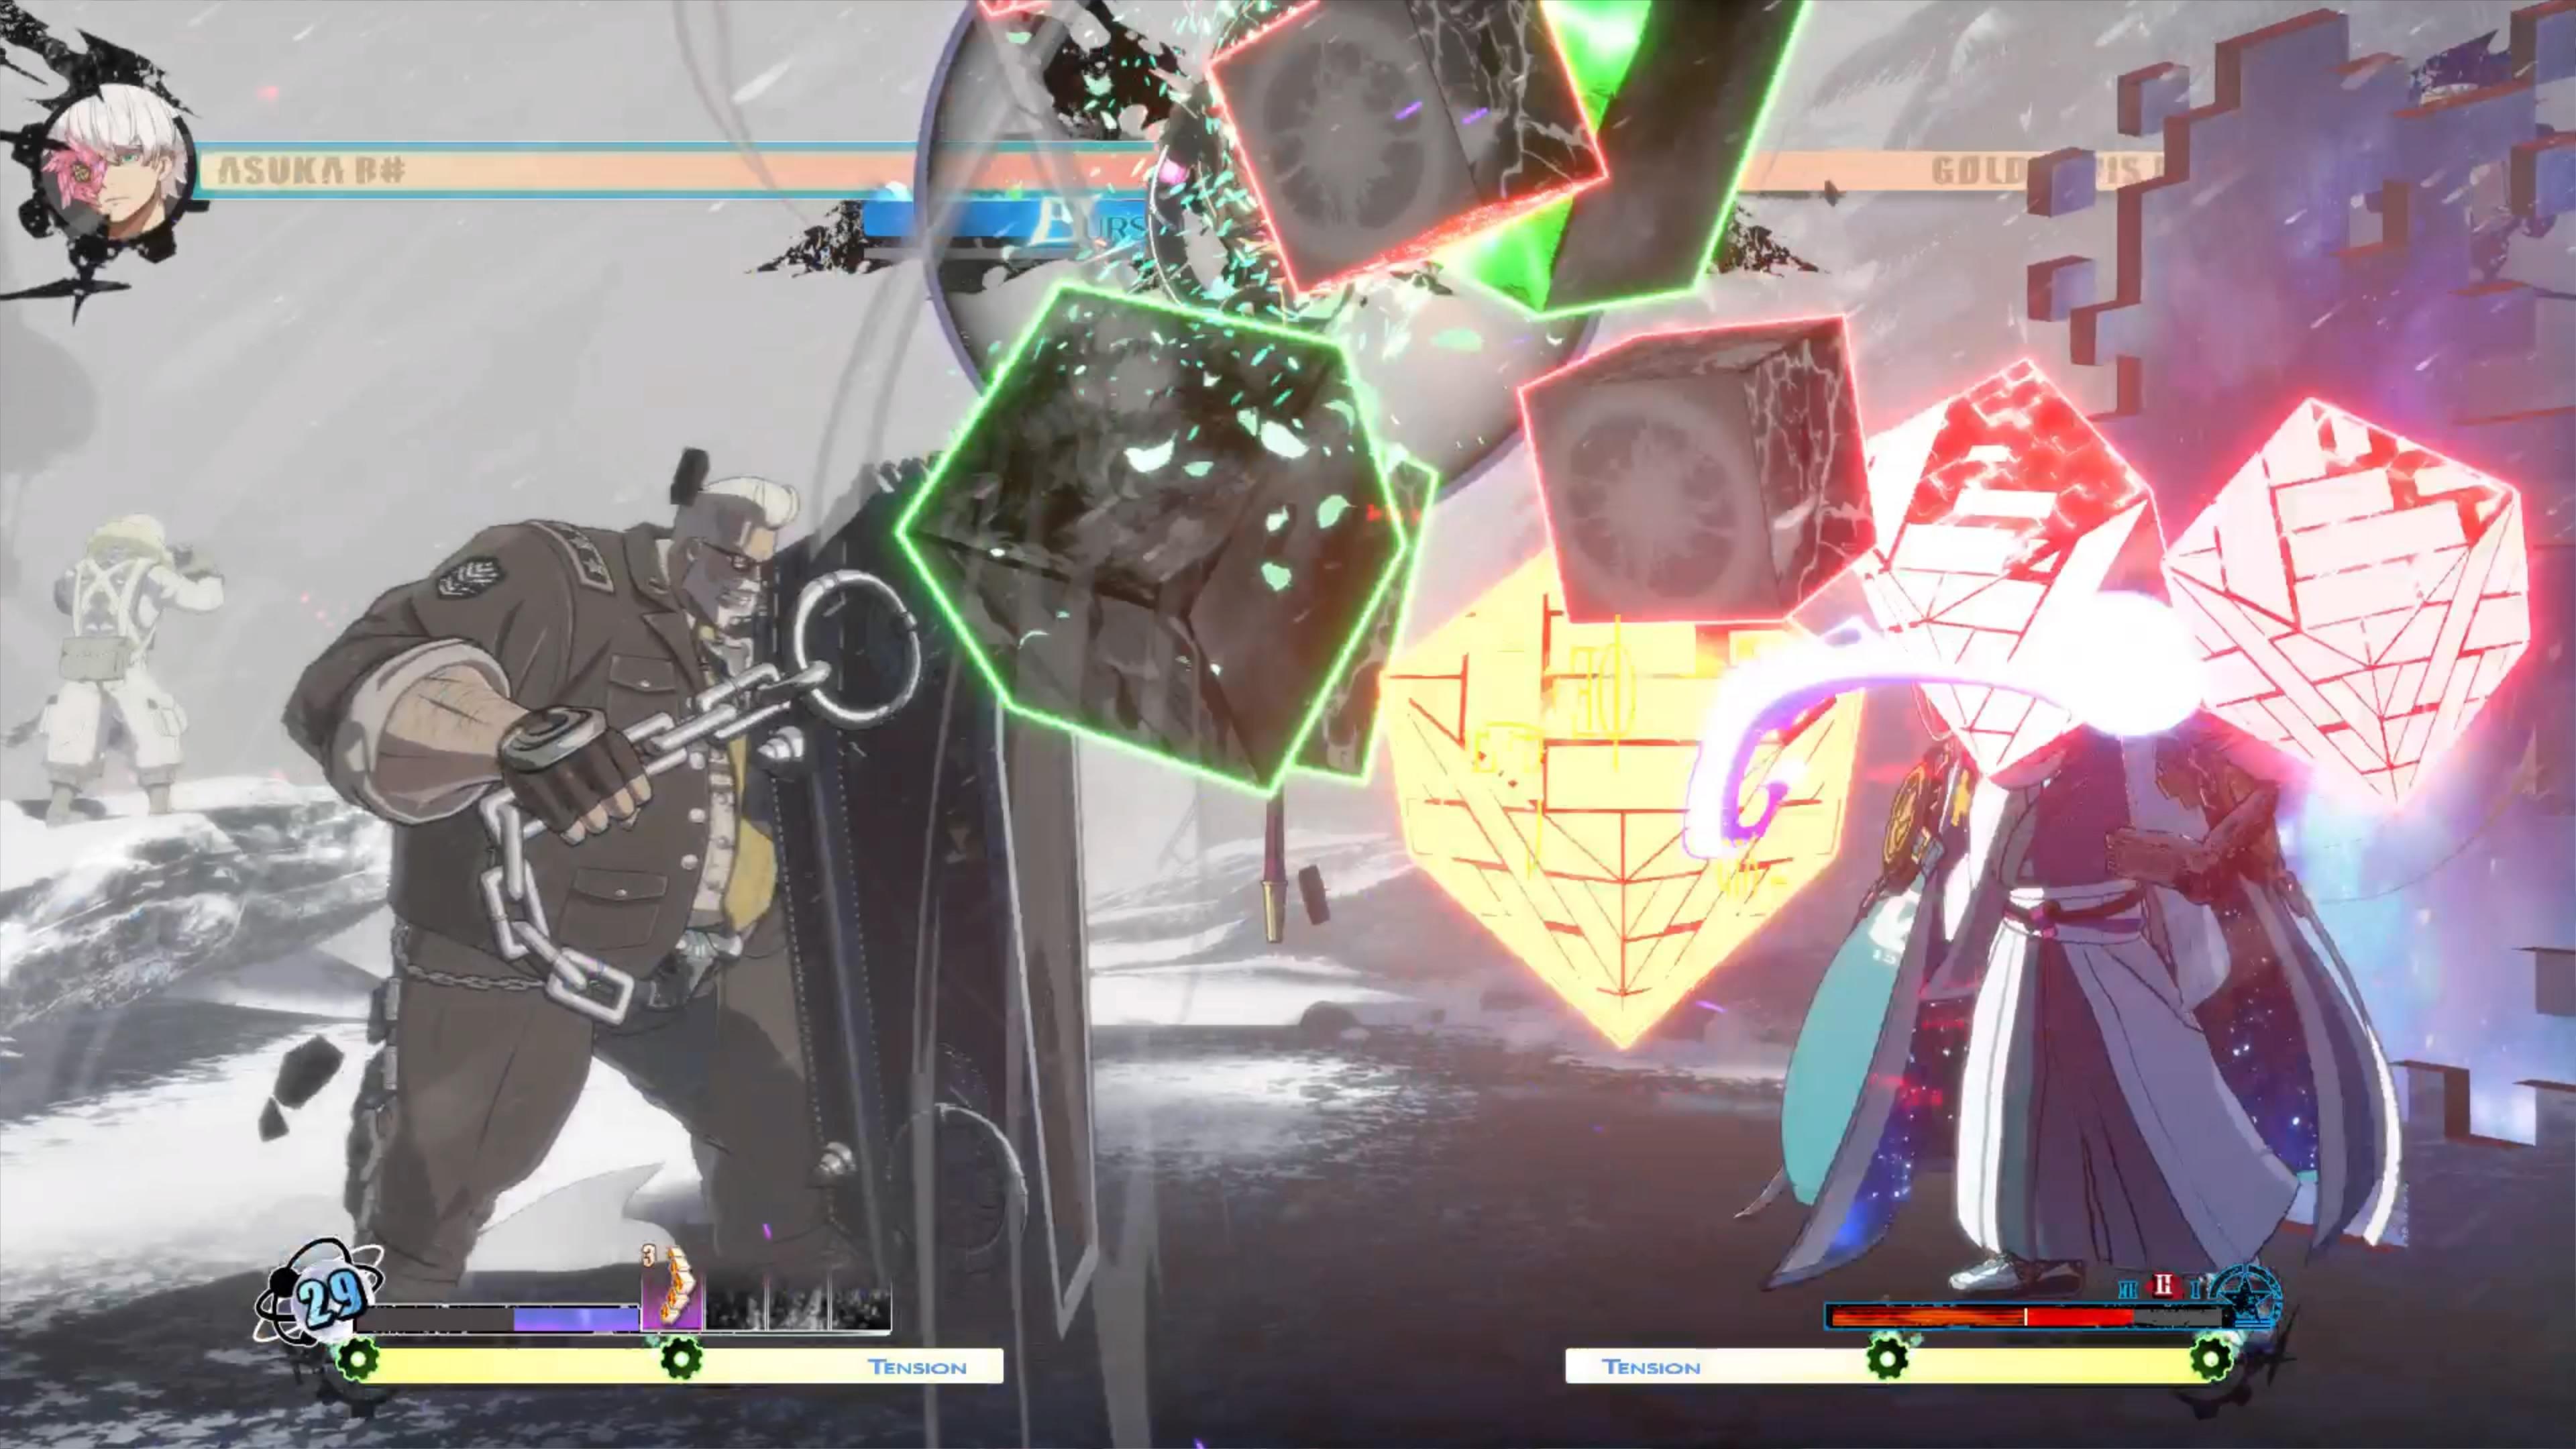
Barring their names, the effects of Shooting Time Stretch (Accelerate) and (Decelerate) are fairly self-evident: Accelerate speeds up projectiles, giving them Guard Crush and Wall Bounce properties, while Decelerate slows their velocity, cutting off vital sections of the battlefield. High-Pass Filter Gravity grants an upward trajectory to fireballs, making Asuka's jump higher than usual. Low-Pass Filter Gravity lowers these arcs, allowing air attacks to hit earlier and enabling mix-up pressure. Gravity Rod (Shooting) is where the real fun beings, drawing in spells to create a vortex of oppression. Repulsive Rod (Shooting) pushes foes away from the staff, allowing for extended periods of lockdown from which there is little relief. Though certainly daunting at first, Asuka's staves unlock the character's true potential, such that a simple check quickly becomes an irreversible checkmate.
As inheritor to the Tome of Origin, Asuka has an astounding thirty different specials moves at his disposal – just not at his beck and call. Ranging from a plethora of projectiles, staves, and supplemental effects, these spells are divided into 'Test Cases'. Swapped to and from mid-battle, these 'decks' have three general applications: keepaway, up-close rushdown, and one best described as a cornucopia of chaos.
While Asuka begins each contest in Test Case 1, the initial magic available will always be different, giving him a powerful – yet inconsistent – round start. In neutral, Delayed Homing Metron (the yellow cube found in every deck) is especially notable for its versatility on hit or block, granting Asuka respite to stockpile resources. Bookmark (Full Import) fills all empty spells slots, making it invaluable when swapping Test Cases. The effect of Reduced Mana Cost is subtle and (usually) a welcome draw. Specializing in zone-play, Test Case 1 is the foundation to gaining a greater understanding of the fundamentals. Once its basics are mastered, the doorway of possibility will begin to revolve.
Test Case 2 is the most neglected of Asuka's spellbooks and the reasoning against it is sound. Designed to keep adversaries guessing between high/low mix-ups, Test Case 2 can lead to quick damage in melee, without completely sacrificing the stability offered by Test Case 1. The issue is that its support spells are the hardest to utilize: both Recover Mana (Instant) and Bookmark (Random Import) discard your current hand. And despite their power, the gravity-altering effects of the staves in Test Case 2 end up being too situational to be relied upon. This deck shows promise, but superior options can usually be found elsewhere.
It's not difficult to see why Test Case 3 receives the most love. Virtually all of Asuka's strongest spells are found here and can instantly shut down all hope the opponent has of winning. Any extended combo, bullet-hell lockdown sequence, or overall bizarre interaction between fighters more than likely began and ended with this. Hit the lottery and the last card you'll need will be from Hallmark's condolence section.

Recover Mana (Continuous) allows Asuka to run his offense, forgoing having to worry (as much) about meter and defense. In unison with Bookmark (Auto-Import), this becomes a torrent of magic the opposition must endure. The staves of Test Case 3 act as vortices, pulling spells into their orbit and locking down major portions of the screen. Metron Arpeggio (a multi-stage projectile wave), Delayed Tardus Metron (a massive cube of oppression), and Bit Shift Metron (which starts at either 1 or 5 cubes before scaling in the opposite direction) are three of the strongest fireballs in the game. Combined with a Teleport (that should belong to Test Case 2 in all honesty), when Asuka properly sets up Test Case 3 get ready to take notes. But as much as I love it, most of my criticism resides here.
For a character built entirely around uncertainty and randomness, it's ironic that Asuka's current path to victory is surprisingly straightforward. Watch Gobou, Zando, or any high-level competition, and the opening 5-7 seconds of each round are exactly the same: dump your hand and get into Test Case 3 as soon as humanly possible. Even in match-ups where this tactic clearly isn't working effectively (i.e. Nagoriyuki), I've watched the best of the best die on this hill, rather than attempting a different approach – why? Is Test Case 3 really so superior that the others aren't worth consideration? I understand that the popular 'tech' in games always get the most attention, but there's simply too much evidence to deny. I do believe that Test Case 2 could answer some of Asuka's match-up woes, but without more refinement (from fans and developers), it comes across like an appendix or that time they tried introducing Larry to Pinky and the Brain.
There is one last Easter egg to mention concerning Asuka: that you essentially get two characters with a single purchase. By pressing 'up' on the D-Pad while selecting their color, users can choose between fighting as Asuka R# or Asuka R. Kreutz. This has no effect on the outcome of a match, but it does generate new dialogue between characters – namely those who see past the illusion. Since Asuka is currently residing on the Moon to keep the Tome of Origin safe, the only possible way he could interact with everyone else (from a story perspective) is with his phantom acting as an emissary. It's a small touch, but it goes a long way in keeping with Asuka's elusiveness over the decades. This level of detail is ArcSys' specialty, as any fan of Dragon Ball will testify.
Don't let his intricacies scare you off, Asuka is an absolute blast to use. He has the expressive freedom of Happy Chaos, a damage output comparable to Sol Badguy, Faust's unpredictability, and generates stronger defenses than Potemkin – encompassing all the highs, lows, and general mayhem found therein. The roadmap to success, however, is exclusive; Asuka needs to find time during battle to essentially play a game within the game: managing the randomness of his spells, drawing mana, and maintaining his defense shield as he simultaneously engages with the competition. The notion that modern fighting games are shallow isn't completely false, it just applies to series like Street Fighter and Tekken far more than it ever could to Guilty Gear. Step in the river, but prepare to drift seaward, because this is a character that takes months (if not possibly years) to fully explore. Whatever Season 4 has lined up for us, the professor is ready to teach and classes will be in session. That is, unless they nerf him like they did to Zato-1...
Please bring back Zato.


 Essay Pro