Existing User Log In
New User Registration


Register for a free account to gain full access to the VGChartz Network and join our thriving community.


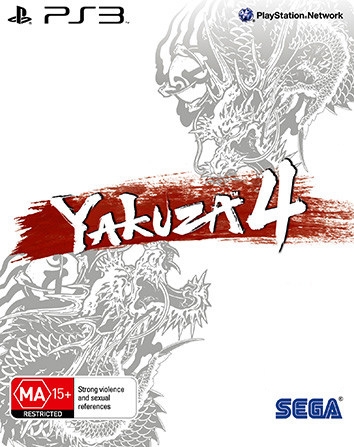
America - Front

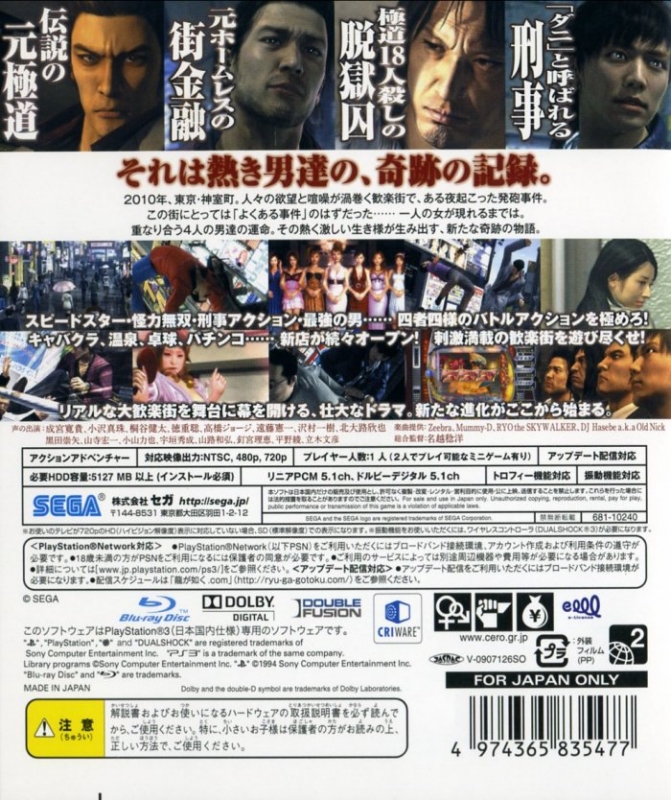
America - Back

|
|
Mr Puggsly
posted 30/12/2015, 07:40
Now that 5 is in English and 6 is coming, I'm getting into the series again. Just finished 3 and will play this next. Message | Report |
|
|
Kongfucius
posted 29/06/2014, 01:31
Apparently Sega didn't make enough money off 270k sales to may to whack some subtitles on Y5 and push it out the door when NISA and XSeed can get by on games selling 50k at best a lot of the time and which often have English voice acting :( I'm sorry but even if there's a lot of stuff to translate, that sounds ridiculous. Puts me off getting into the series when I'd really like to :( Message | Report |
|
|
|
|
|
|
|
|
Ham_Burgular
posted 09/01/2012, 02:08
Not at all i preferred Yakuza 3 to GTAIV by a mile. This one isnt as good mind you. Message | Report |
|
|
|
About Us |
Terms of Use |
Privacy Policy |
Advertise |
Staff |
Contact
Display As Desktop
Display As Mobile
© 2006-2026 VGChartz Ltd. All rights reserved.